From Beginning To End: A Detailed Guide to Flawless Tile Installment
" From Beginning to Complete: A Detailed Overview to Flawless Floor Tile Installation" is a thorough resource that offers specialist advice and comprehensive guidelines on achieving remarkable floor tile installation. With its clear and concise directions, this guide is an indispensable device for anybody looking to grasp the art of floor tile installation.
Planning and Preparation
To ensure a successful tile installation task, detailed preparation and thorough preparation are vital. Begin by evaluating the area where the floor tiles will certainly be set up and determining the scope of the task.
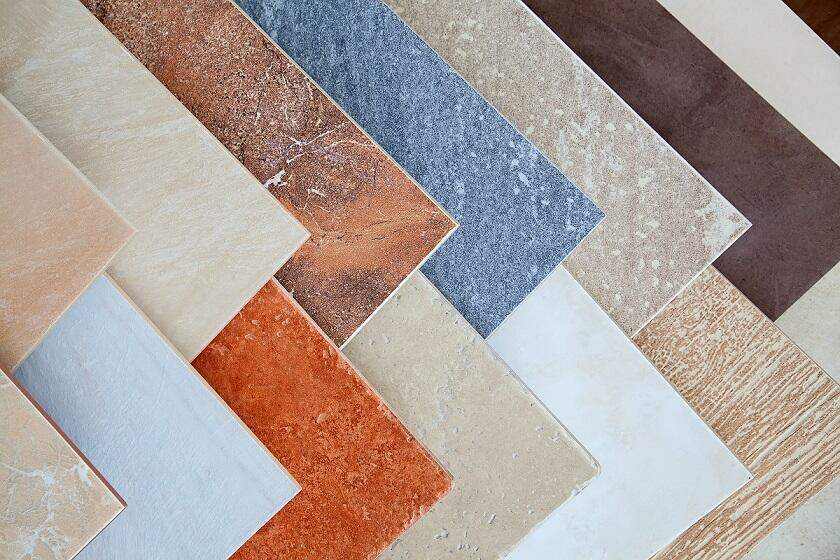
Next, gather all the necessary products and devices needed for the installment. This consists of the tiles themselves, glue, grout, spacers, trowels, and any various other specialized tools. Make sure to acquire sufficient tiles to make up any possible breakage or errors during the setup process.
As soon as the materials prepare, it's time to prepare the surface that will certainly be tiled. This includes cleansing the area extensively and ensuring it is degree and devoid of any kind of flaws or cracks. If needed, apply a suitable guide or waterproofing membrane to develop a stable base for the ceramic tiles.
Ultimately, create a design strategy for the floor tiles. This involves establishing the beginning point, marking guidelines, and making certain symmetry and balance throughout the setup. Take dimensions carefully and make any type of needed changes to guarantee a specific and aesthetically pleasing result.
Surface Prep Work and Repair

Before diving into the actual setup process, it is vital to effectively prepare and repair the surface area that will certainly be tiled. Surface area prep work is vital for ensuring a flawless tile installation that will certainly stand the examination of time. The very first step in surface area preparation is to examine the substrate for any existing damage, such as splits or disproportion. These concerns have to be resolved and fixed before waging the installment.
This will protect against the fractures from creating and expanding damages to the newly installed floor tiles. This will develop a smooth and even surface area for the ceramic tiles to adhere to.
Setting the Tile
The very first step in establishing the tile is to make certain that the surface has been properly prepared and fixed. Once the surface area is clean, level, and devoid of any fractures or blemishes, you can start the process of setting the tile.
Prior to starting, it is vital to gather all the essential devices and products for the job. These might consist of a notched trowel, tile spacers, a ceramic tile cutter or damp saw, a grout float, and ceramic tile adhesive or thinset mortar.
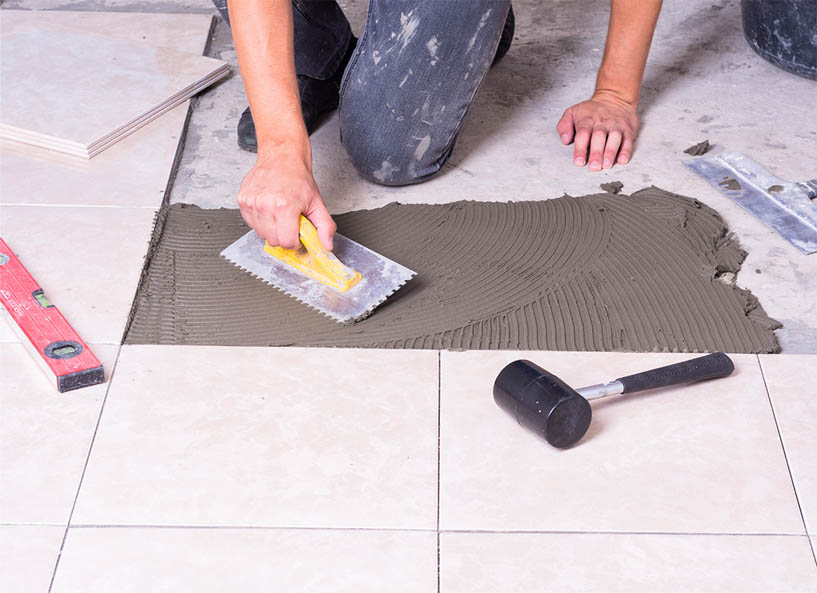
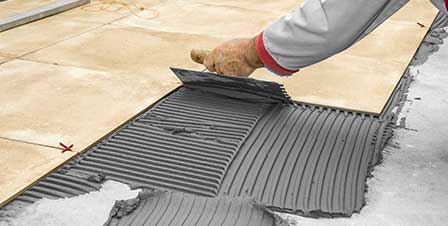
To start establishing the tile, begin by applying a thin layer of mortar or sticky to the surface area making use of the notched trowel. Ensure to spread the glue evenly and regularly to ensure appropriate attachment.
Next, position the ceramic tile onto the glue, pushing it firmly into place. To guarantee also spacing between floor tiles, make use of ceramic tile spacers. Proceed this procedure, functioning in small sections each time, till all the tiles are set.
When all the floor tiles remain in place, allow the mortar or sticky to cure for the recommended amount of time. This will commonly be defined on the product packaging.
After the adhesive has treated, you can continue to grouting the ceramic tiles. This will certainly aid to load in the voids in between the tiles and provide a completed appearance.
Grouting and Sealing
Begin by preparing the grout mixture according to the producer's instructions. Grout is an essential component of floor tile installation as it not just loads the spaces in between tiles but additionally supplies security and prevents dampness penetration.
Once the cement combination is prepared, make use of a grout float to apply it to the floor tile surface. Hold the float at a 45-degree angle and spread the grout diagonally throughout the ceramic tiles, guaranteeing complete coverage in the joints. Operate in get more little areas to avoid the grout from drying out prior to it can be appropriately wiped.

After the initial cleaning, wait for the cement to treat entirely prior to using a grout sealer. The sealant includes an added layer of security, preventing discolorations and wetness from penetrating the grout. Comply with the supplier's guidelines for the sealant application, ensuring also protection.
Grouting and sealing are crucial steps in tile installment that add to the overall look and longevity of the task. By thoroughly adhering to the manufacturer's instructions and making the effort to finish these actions properly, you can achieve a resilient and flawless ceramic tile installation.
Finishing Touches and Clean-up
To finish the ceramic tile installment process, focus to information and extensive clean-up are important. After grouting and securing the ceramic tiles, it is crucial to concentrate on the completing touches to make certain a perfect outcome. The initial step is to eliminate any excess cement or adhesive from the tile surface area. This can be done using a wet sponge or cloth, carefully cleaning away the residue. Treatment ought to be taken not to interrupt the freshly grouted joints.
Next, evaluate the tiles for any type of variances or flaws. It is crucial to address any uneven floor tiles or gaps between them. If required, modifications can be made by delicately tapping the ceramic tiles with a rubber club or making use of a floor tile progressing system to accomplish a level surface.
As soon as the ceramic tiles remain in place and appropriately straightened, it is time for the last clean-up. Any kind of remaining grout haze or smudges must be gotten rid of making use of a ceramic tile cleaner and a soft towel. Focus on the cement lines and sides, guaranteeing they are totally free and clean from any excess grout or deposit.
Last but not least, take the time to inspect the whole installment for any type of missed areas or areas that require further focus. By carefully analyzing the completed project, you can make any essential touch-ups or improvements. This thorough method will cause a remarkable floor tile installment that will certainly stand the test of time.
Conclusion
To conclude, adhering to a step-by-step guide for remarkable ceramic tile installation is essential for accomplishing a successful outcome. Correct planning and prep work, comprehensive surface prep work and repair service, accurate tile positioning, and cautious grouting and sealing are critical steps to ensure a resilient and visually enticing floor tile setup. By focusing on the finishing touches and carrying out detailed clean-up, one can accomplish a professional-looking outcome that will boost the aesthetic worth of any room.
" From Start to End Up: A Detailed Guide to Flawless Floor Tile Setup" is a comprehensive resource that gives specialist assistance and detailed directions on attaining impeccable floor tile setup. To ensure also Go Here spacing between ceramic tiles, utilize tile spacers. Grout is an important part of floor tile installment as it not only fills find out up the spaces in between tiles but additionally provides stability and stops dampness infiltration. If essential, modifications can be made by delicately tapping the tiles with a rubber mallet or making use of a tile leveling system to accomplish a level surface.
Correct planning and prep work, thorough surface preparation and fixing, precise ceramic tile placement, and cautious grouting and sealing are crucial actions to make certain a long lasting and visually attractive tile installation.